You can spray paint kitchen cabinets, but only if you treat the full curing time seriously. The surface feels dry in four to six hours, yet the paint remains soft enough to take fingerprints and claw marks for thirty days. I used Benjamin Moore Advance, a waterborne alkyd that let me build three coats in one day, and still left the doors in the garage for a week before reinstalling them.
Preparation
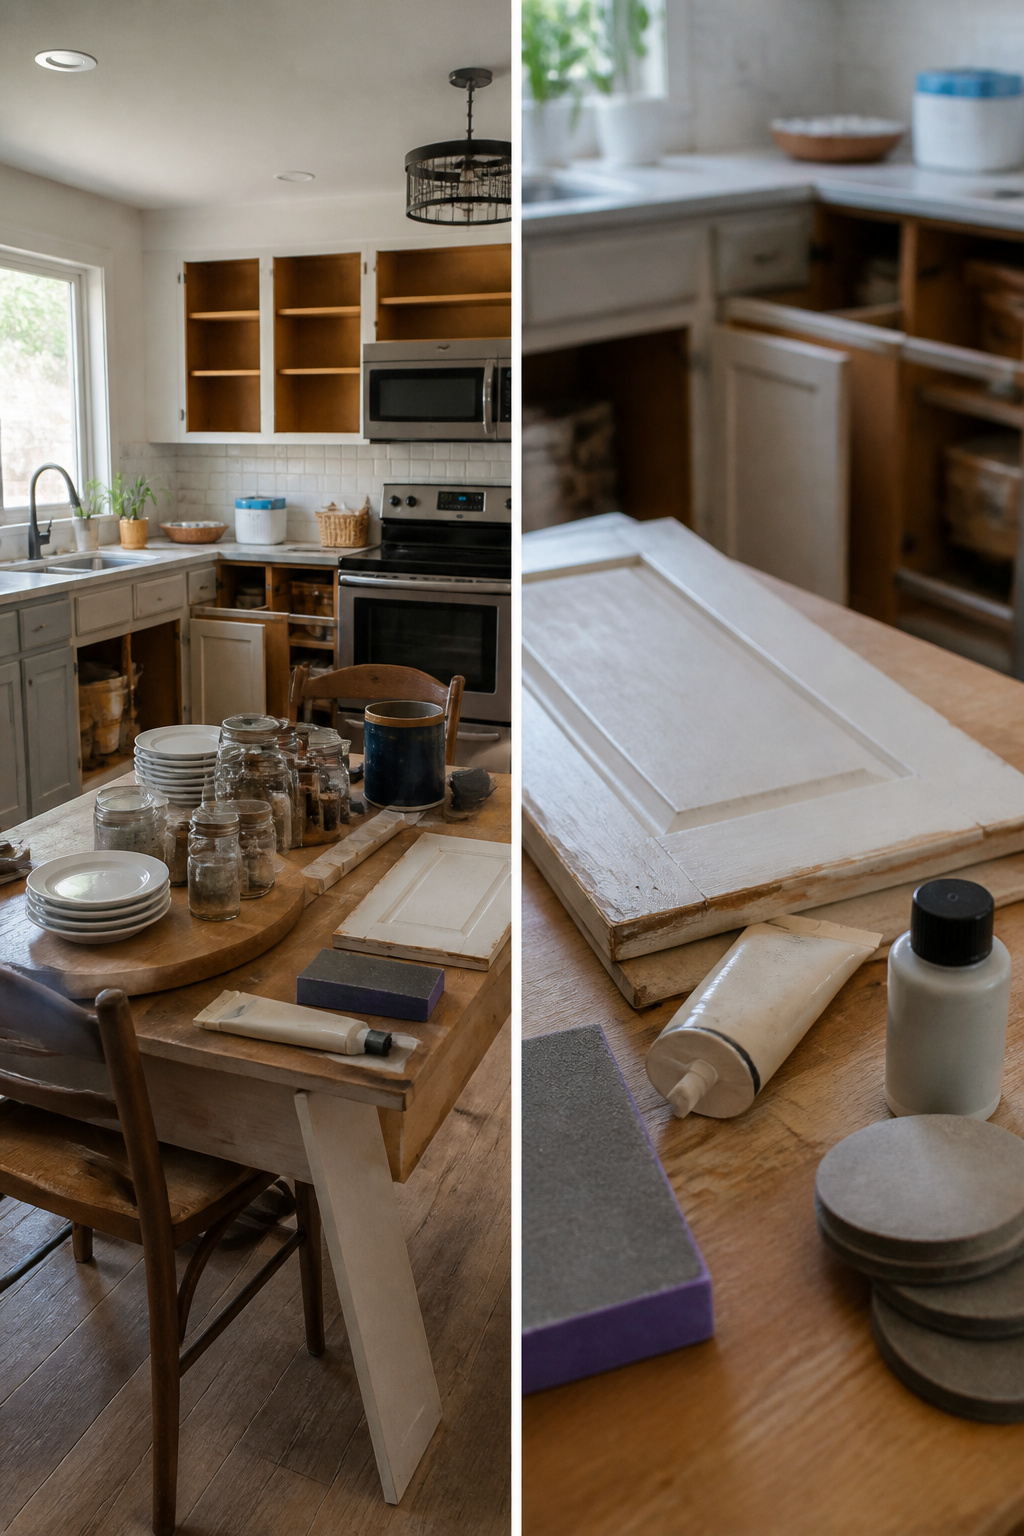
Emptying the cabinets took longer than the painting itself. Every plate and spice jar ended up on the kitchen table, and for two days the room looked like an estate sale mid-setup. The surfaces underneath were worse than expected: a film of cooking grease that regular soap barely touched. Grease left in place will ruin adhesion no matter what paint or sprayer follows, so this step is not where you save an hour.
I used Liquid Sandpaper, which works as both degreaser and de-glosser. Paint thinner handles the same job, and any dedicated degreaser will do if you already have one. The key is working in sections and checking by touch; the surface should feel clean, not slick, before you move on.
After the cabinets dried, I filled old hardware holes and small dents with wood filler. The patched spots need sanding smooth later, but getting the filler in now lets it harden overnight while you handle masking and other prep. Skip this and every hole telegraphs through the finished paint, especially on door fronts where raking light catches every flaw.
Sanding
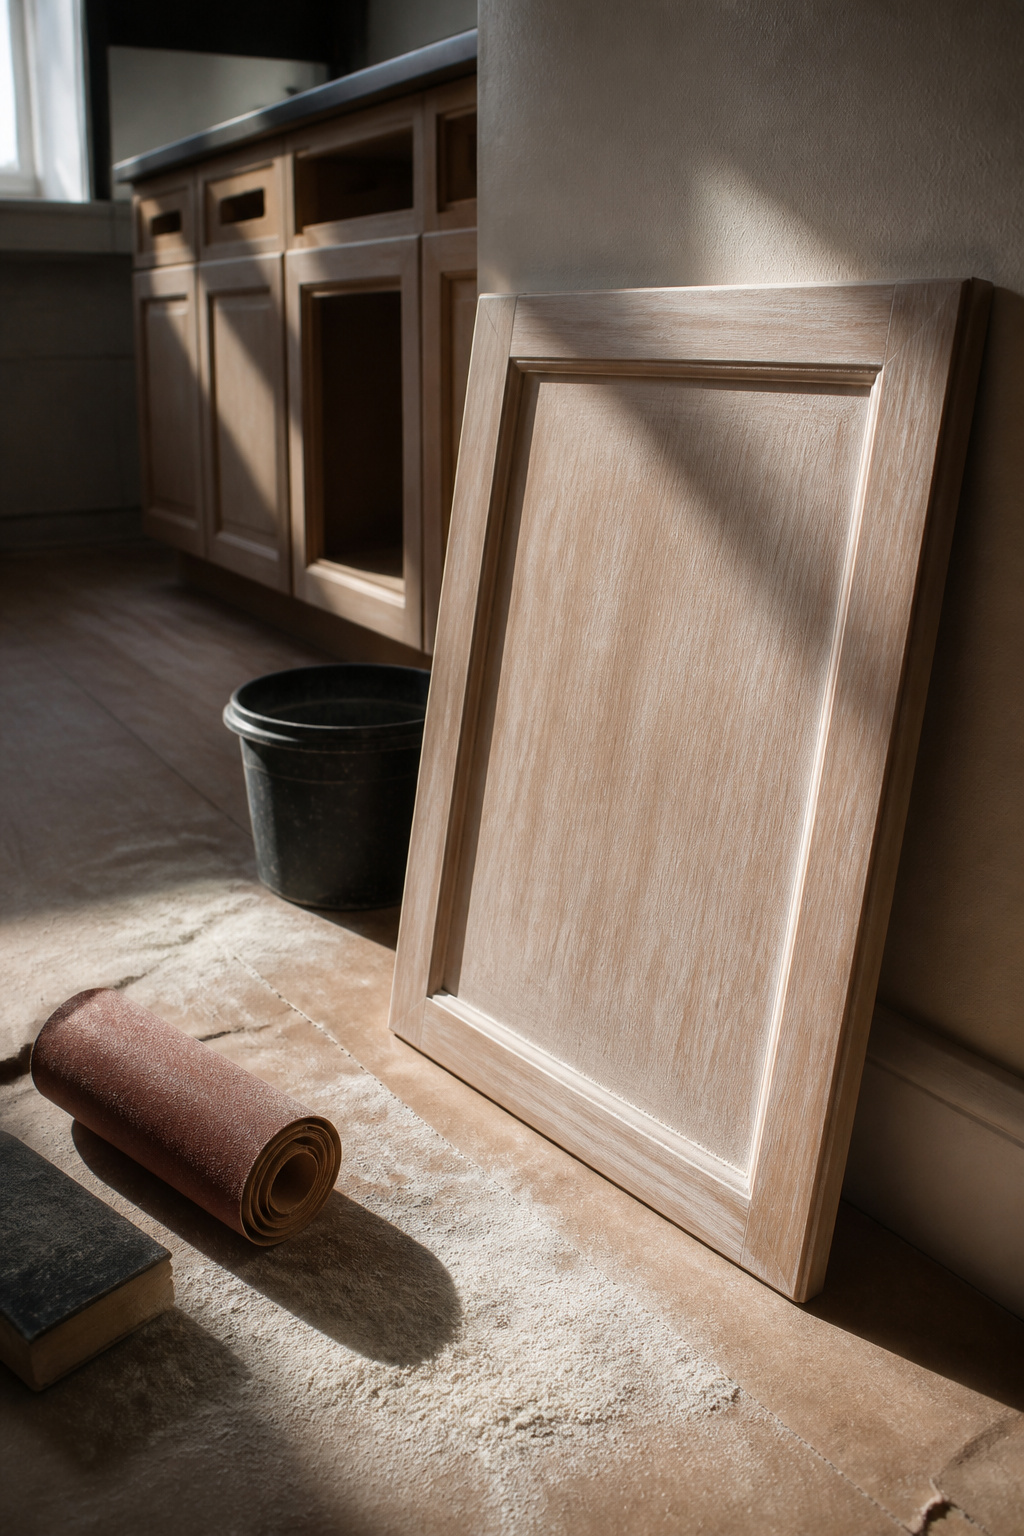
220-grit sandpaper is the right call for kitchen cabinets: rough enough to scuff the existing finish, fine enough to leave a surface that paint can grip without showing scratches through the topcoat. The goal is light sanding to create tooth, not to strip down to bare wood. The cabinet frames, doors, and drawer fronts all need the same treatment, including any spots where wood filler repaired dings or holes.
Skip this step and the new paint has nothing to bite into. The sources that asked whether sanding is necessary all came back to the same risk: paint that looks fine at first, then chips or peels within weeks because it sat on a slick, sealed surface instead of bonding with it. Grease residue left from cooking makes the problem worse, which is why cleaning comes before sanding, but cleaning alone does not give paint the mechanical hold it needs.
After sanding, the dust has to go. A tack cloth picks up the fine residue without adding moisture; a barely damp cloth works if that is what is on hand, though soaking the wood risks raising the grain and creating new texture problems. The surface should feel smooth to the touch but slightly dulled, the kind of finish that drags a fingernail just a little when you run it across.
Masking
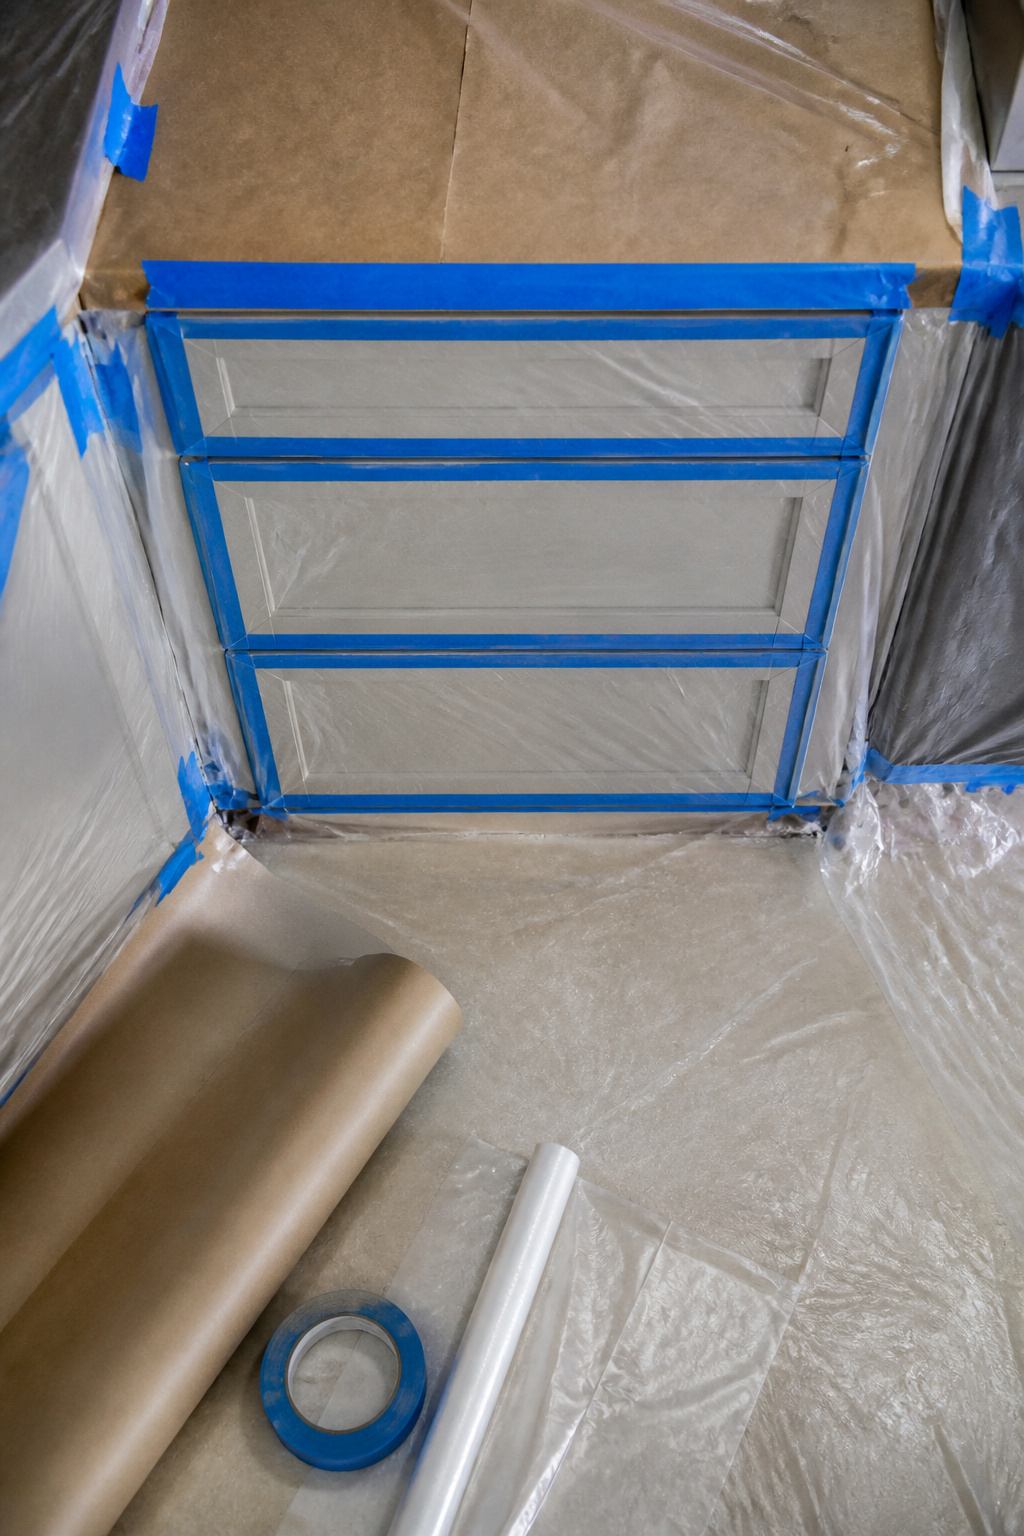
Painter’s tape and plastic sheeting eat more time than the actual spraying, which is exactly why the cabinets themselves go faster once you start. I go through about two rolls of tape and a full roll of 12-inch paper for a standard kitchen, plus several sheets of plastic if I’m working doors outside on sawhorses. The brown paper is for counters and backsplashes; plastic drapes over appliances, furniture in open-concept layouts, and the insides of cabinets you aren’t painting. Pre-taped plastic exists and sticks to walls and ceilings well enough, though the built-in tape is narrow, so I run standard painter’s tape first and layer the pre-taped stuff over it for a clean edge.
The mistake that costs people a redo is treating masking as one-and-done. Paint goes on over multiple days; you’ll need to reach the sink and fridge between coats. I overlap plastic sheets at those spots and tuck them back during downtime rather than re-taping every morning. Overspray carries farther than most first-timers expect, and not just as wet paint; a fine dust settles across the room. If you care about the dining table, drape it, or hang plastic from the ceiling to build a temporary spray room. The sprayer itself is accurate enough that unmasked plywood subfloors around an island pick up only light speckling, but that same dust will frost your couch cushions across the house.


Priming
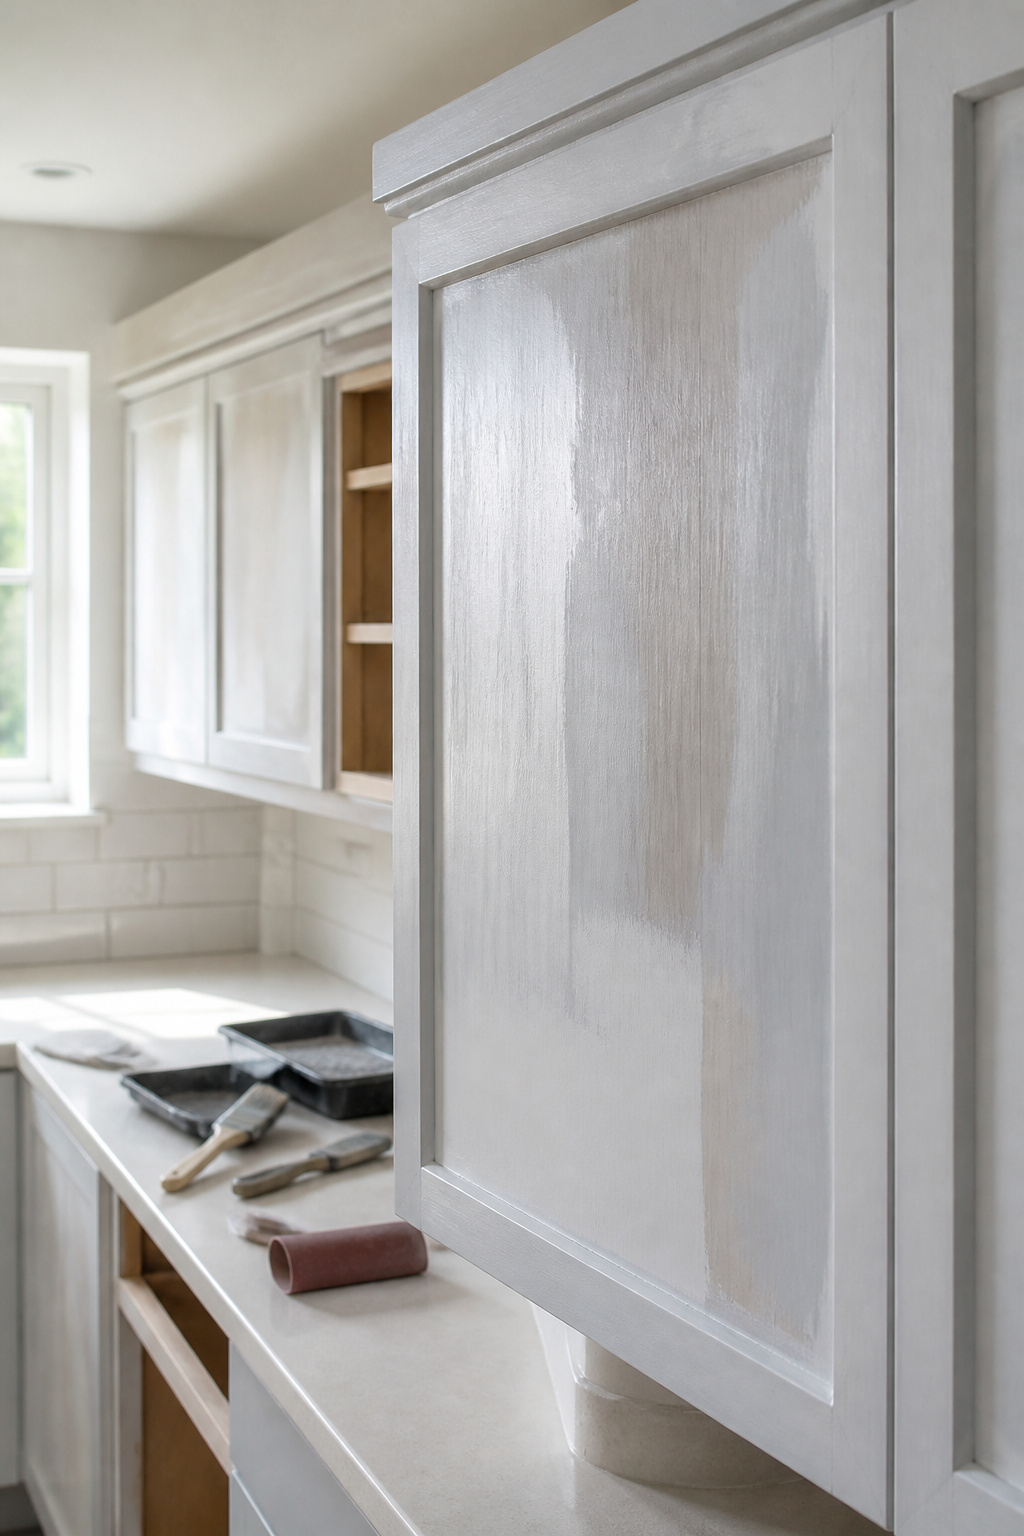
Primer coats never look good, and that is worth remembering the first time you pull the trigger. The surface will come out patchy and thin, but coverage is not the point; adhesion is. One coat gives paint something to grip, two coats give it a fighting chance on grainy wood or places your sander missed. Between them, let the primer dry for a couple of hours, then hit it lightly with 220-grit sandpaper so the next layer has something smooth to land on.
Oak cabinets add a specific wrinkle. The tannins in that wood will push right through a standard primer and tint your final color, sometimes days later. A stain-blocking primer is the fix here, and skipping it is the kind of mistake you do not notice until the second coat of paint is already down. MDF does not have the same problem, so the same primer across different cabinet types is not the move.
Painting

A paint sprayer set to max air power throws smaller droplets, which is what gives cabinet faces that factory-smooth look instead of the orange-peel texture lower pressure leaves behind. The paint flow wants dialing back too; high flow covers fast but lays it on thick, and thick overlap between passes can keep the coat from curing right. Let each coat dry 4–6 hours before sanding with 220-grit paper and going again. That light sanding between coats is what separates a finish you can feel from one you only see. Two thin coats usually cover upper frames, lower frames, and doors; three if you’re flipping cabinet backs and fronts, with a full day of dry time before the flip so you don’t fingerprint wet paint. The pickup straw inside the sprayer cup points forward for below-chest work, back for overhead, keeping paint flowing to the tube even when the canister tilts.
Curing
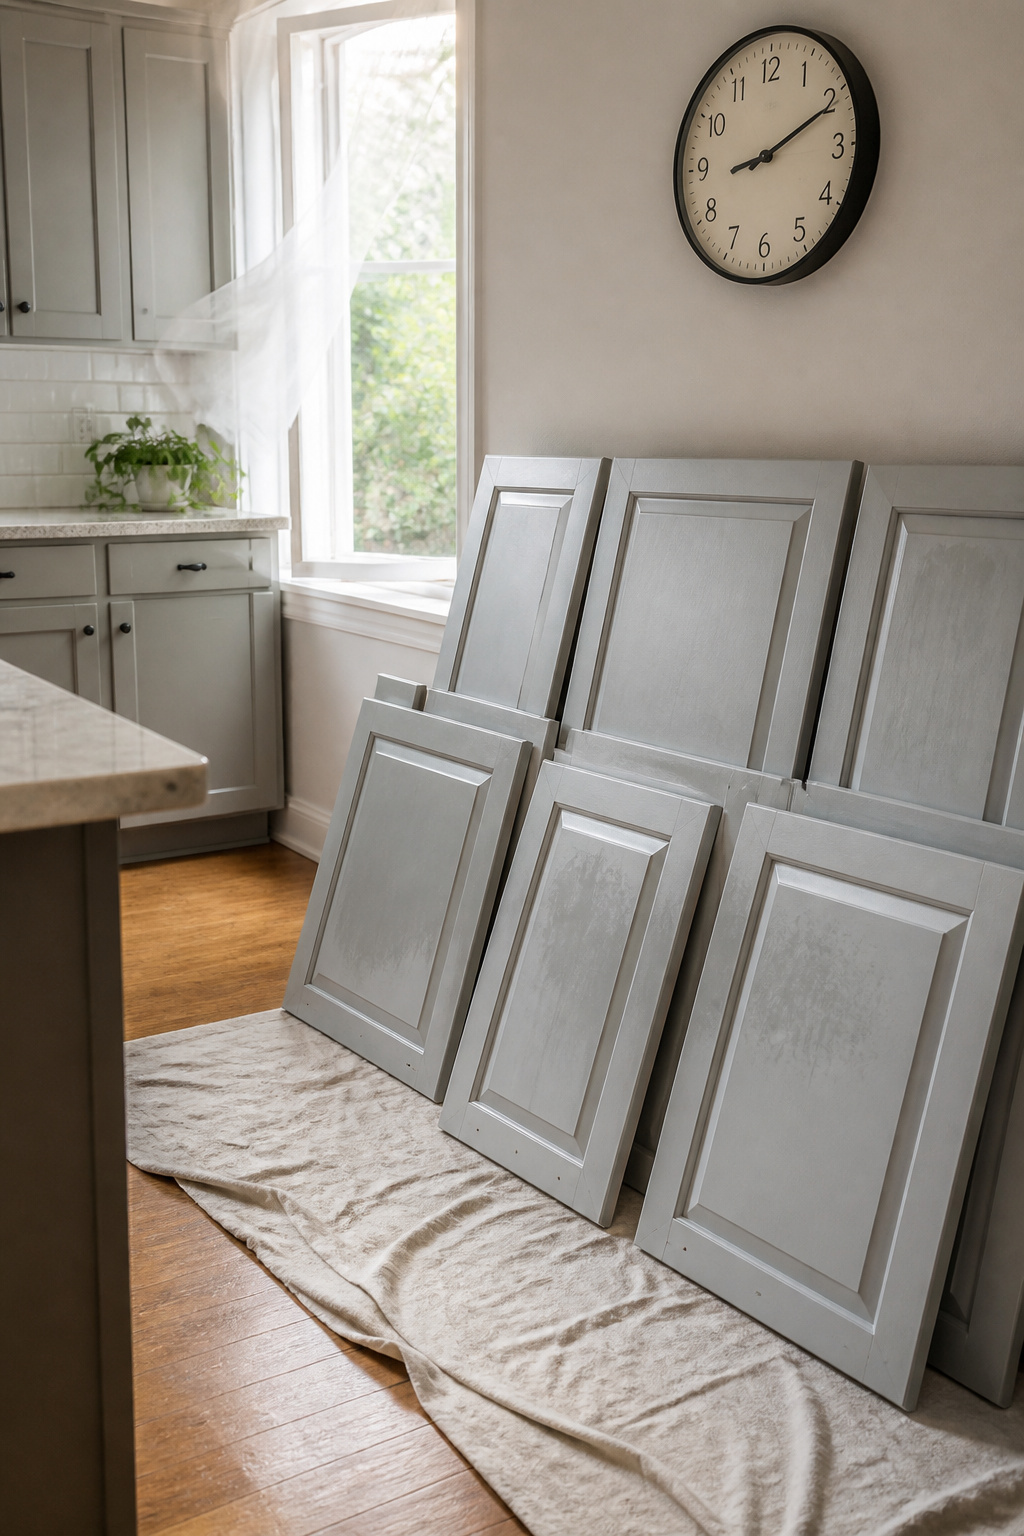
Paint feels dry to the touch long before it is ready to live with. The surface will seem set in four to six hours, but the full curing time is 30 days for complete hardness. Reassembling cabinet doors after only 24 to 48 hours is a calculated risk; the film is still soft enough to take fingerprints, dings from hardware, and the pressure of closing against a frame. Sources describe paint rubbing off onto a damp rag during early cleaning, and claw marks from pets that would have skated off a cured surface instead etching right in. Install too early and you trade a few days of garage clutter for a finish that never reaches its promised durability. The 30-day window matters most for surfaces that will see daily wiping, heavy hands, or the occasional collision with a cabinet door swung open too fast. If the kitchen is your only workable space, the doors can come back after two days, but plan to handle them like wet varnish for the rest of the month.
Paint Types
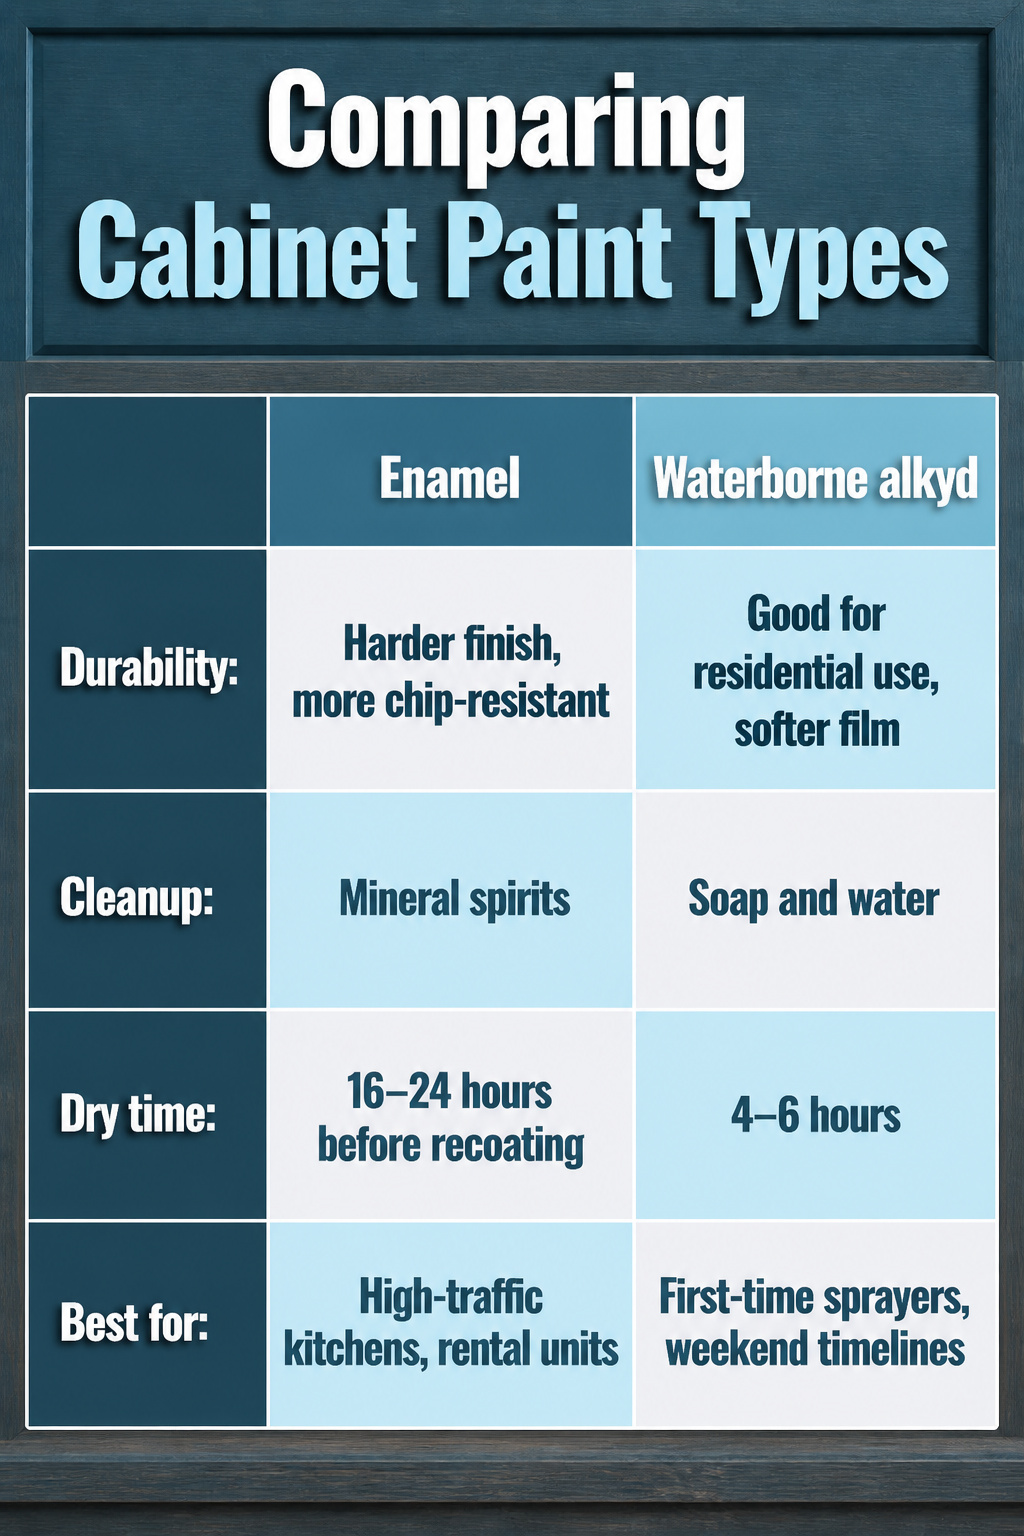
Two paint types dominate cabinet spraying right now, and the choice comes down to what you are willing to trade.
| Enamel | Waterborne alkyd | |
|---|---|---|
| Durability | Harder finish, more chip-resistant | Good for residential use, softer film |
| Cleanup | Mineral spirits | Soap and water |
| Dry time | 16–24 hours before recoating | 4–6 hours |
| Best for | High-traffic kitchens, rental units | First-time sprayers, weekend timelines |
I used Benjamin Moore Advance on my last set, which is the waterborne alkyd side of this table. It gave the hardness I wanted without the fumes, and I could get three coats done in a day. Sherwin Williams makes a comparable line if that is what your store stocks, though I have not sprayed it myself.
For a full kitchen with a large pantry, thirteen bases, and twenty-five doors and drawer fronts, plan on roughly 1/2 gallon of primer and 1 1/2 gallons of paint. That is enough to build proper millage without stretching coats thin.
Sprayer Choices

The Wagner FLEXiO 5000 is built for fine finishes on cabinets and trim, while the Critter Siphon Gun suits smaller jobs where you already own an air compressor. Both can handle doors, but the setup matters as much as the tool.
| Wagner FLEXiO 5000 | Critter Siphon Gun | |
|---|---|---|
| Best for | Full cabinet sets, fine finish work | Smaller projects, touch-ups |
| Finish quality | Detail Finish Nozzle; mist-like droplets, factory smoothness | Smooth, no brush strokes |
| Ease of use | Self-contained; practice poster included | Requires separate air compressor |
| Air pressure | Adjustable; max air power for smallest droplets | Set by your compressor |
| Paint flow | Adjustable trigger stopper | n/a |
| Hanging setup | Both sides of doors can be sprayed simultaneously with a hanging system | Both sides of doors can be sprayed simultaneously with a hanging system |
The FLEXiO 5000 runs higher on price but arrives ready. The Critter saves money only if the compressor is already in your garage. For a full kitchen, the hours saved on setup and cleanup tilt toward the Wagner. For a single vanity or two doors, the Critter is the practical choice.
Hold the paint sprayer 4–6" away and release the trigger after each pass. Overlap your passes by 50% to ensure even coverage.
That 50% overlap is the detail that separates a streaky second coat from one that looks sprayed in a booth. Most first-timers rush the pass and skimp on overlap; the poster that ships with the FLEXiO exists because muscle memory beats reading about it.
Safety Gear
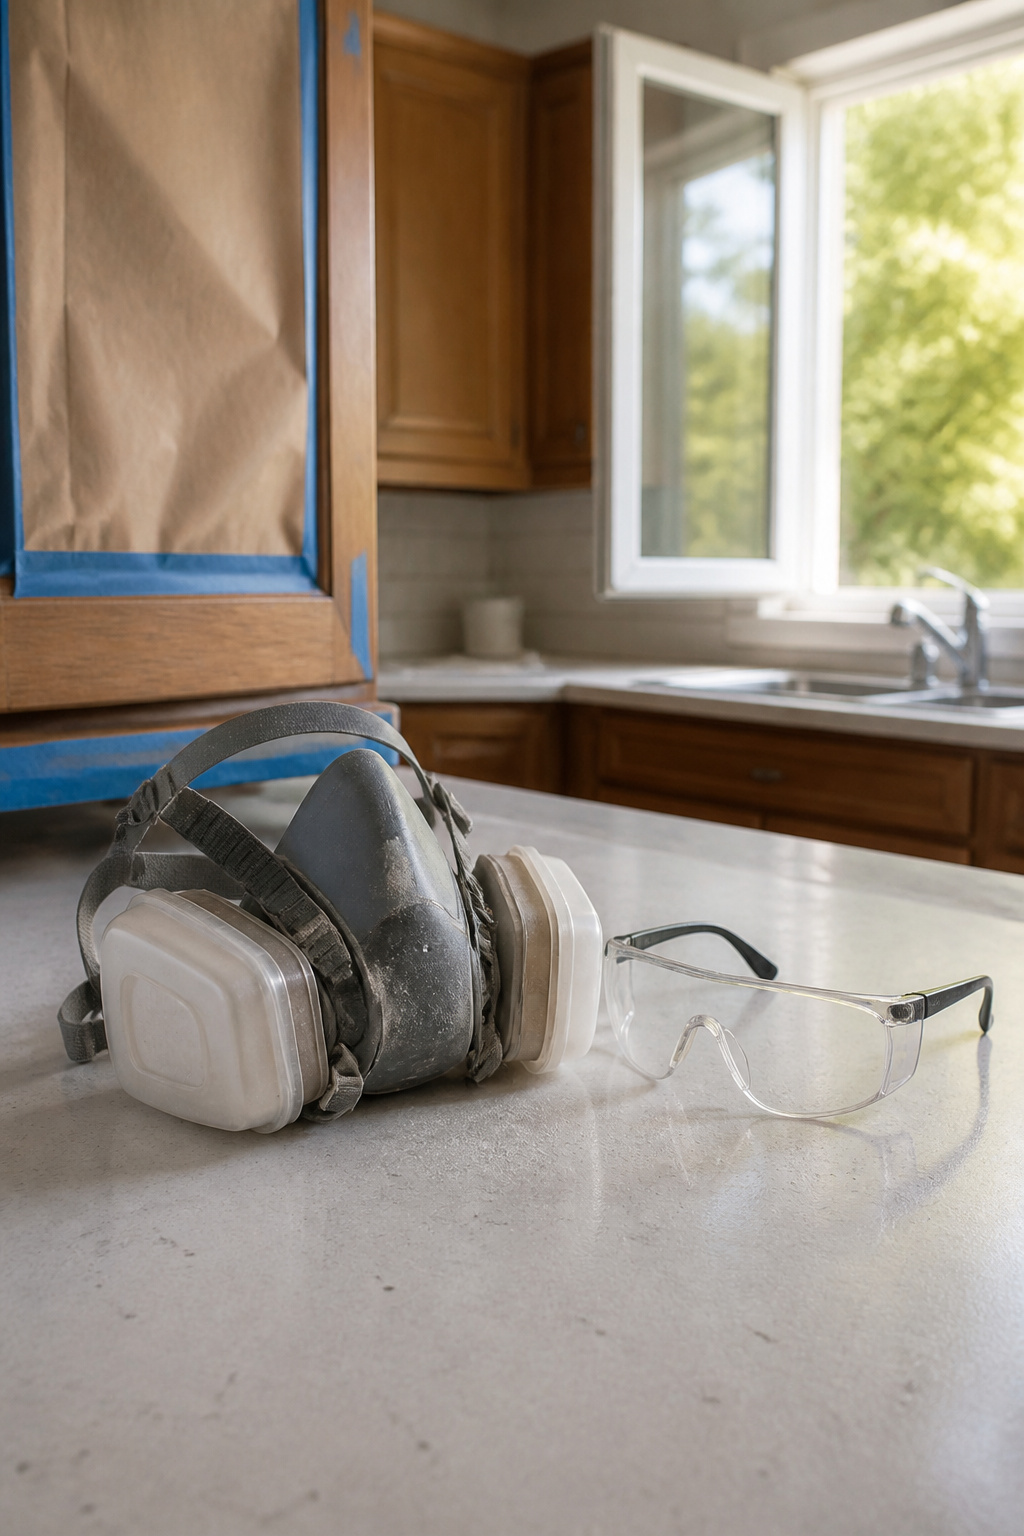
A kitchen with the stove and refrigerator still in place rarely ventilates well enough to spray without protection. A respirator mask is not optional indoors; the paint that lands on your cabinets also hangs in the air you breathe. One writer skipped it at first, then spent the rest of the job coughing pigment out of her nose. She wore one on every base cabinet after that.
Safety glasses matter just as much. Overspray drifts at face height, and a fleck of primer in your eye ends the weekend. The combination I see recommended is:
- Respirator mask for any spraying done inside, even with windows open and fans running
- Safety glasses to block overspray and back-splash from the gun
- Open windows with fans blowing out, not in, to pull fumes through the room rather than recirculate them
Smoke detectors will notice the particulate count before you do. Plan for that, or plan to climb up and silence them.
Timeline

Spray painting kitchen cabinets eats more calendar days than most people budget. Prep alone, cleaning, repairing, sanding, and setting up a painting station in an enclosed area, usually takes two full days before the first coat touches wood. Priming adds another day, and the paint itself needs multiple coats with sanding between them: a 220-grit sanding sponge after primer, then 400–600 grit between paint coats. The real trap is drying time. Paint feels dry to the touch in four to six hours, but full curing takes 30 days or more. Rushing the reinstall after just a few days risks nicks, claw marks from pets, and even water spots from a damp rag. My own rule, after reading enough accounts of ruined finishes, is to let doors cure in the garage for at least five to seven days before bringing them back inside. Eight days total is realistic for a careful job, and treating it as a week-long project, not a single weekend sprint, is the difference between a finish that lasts and one that chips by Tuesday.
Frequently Asked Questions
How long does it take to paint kitchen cabinets?
A careful spray paint job takes about eight days total. The first two days are prep work alone, cleaning, repairing, sanding, and masking, before primer or paint touches the surface. Full curing then needs 30 days for the paint to reach complete hardness, so the kitchen remains a worksite longer than the active spraying suggests.
What is the best spray gun for painting cabinets?
The Wagner FLEXiO 5000 and the Critter Siphon Gun are the two practical choices, and which fits depends on what you already own. The Wagner arrives ready to spray with a Detail Finish Nozzle that lays down mist-like droplets for factory-smooth results; the Critter costs less but needs a separate air compressor. For a full kitchen, the Wagner saves enough setup time to justify its higher price.
Do I need to sand cabinets before painting?
Yes. Light sanding with 220-grit paper creates the mechanical tooth that lets paint grip, and skipping it risks chips or peels within weeks. Cleaning removes grease, but only sanding gives the new finish something to bite into. Sand patched filler spots smooth as well, or every repair will telegraph through the final coat.